
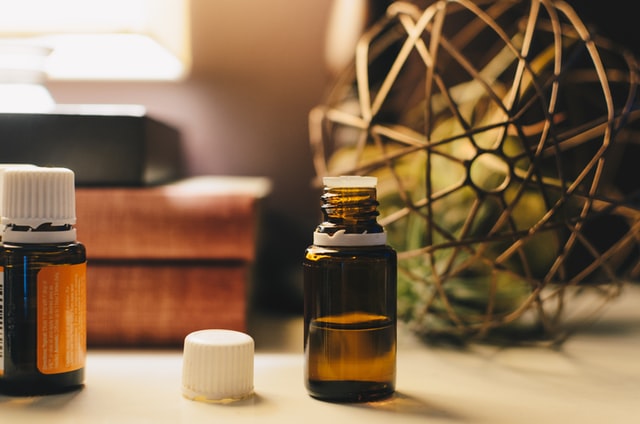
In order to enjoy the many benefits associated with using a diffuser, you need to keep your diffuser in good working condition. Among the best ways, you can use to keep your diffuser in good working condition is to clean it on a regular basis. Most diffusers are designed in such a way that will make it very easy for you to clean. You need to clean an essential oil diffuser in and out. In order to clean the inner parts, you need to remove all the essential oils and clean them with clean water. For the outer parts, you need to wipe them with a piece of cloth.
Steps for you to clean an essential oil diffuser
1. Unplug the diffuser from the power supply and empty it
In order to clean the diffuser without being exposed to the dangers of electrocution; you need to start by unplugging it from the power supply. After unplugging it, you should empty the essential oil which may have been left. If the diffuser was empty, then you will unplug it from the power supply and start the process of cleaning it right away.
2. Fill the diffuser with water
In order to clean the diffuser, you need to use clean water. You should fill it with clean water to the maximum line. The water will be used to remove foreign particles from the interior. In order for the water to clean the diffuser, you can add about 10 drops of vinegar. The vinegar drops will mix with water and aid in removing foreign particles and oils which may have been stuck on the walls of the glass.
3. Plug in the diffuser and let it run for about 5 minutes
This is necessary to allow the vinegar to mix with water so that it will remove the foreign deposits which may have been trapped in the diffuser. After the diffuser has run for 5 minutes, then you will be required to empty the diffuser. You should empty all the water and vinegar so that you will reach different parts which have developed hard stains.
4. Use a cotton swab to tight spots
In order to remove deposits that have been trapped in hard-to-reach areas, you can take a cotton swab dipped in vinegar and use it to remove the hard deposits. It will be very easy for you to reach corners of the diffuser and other areas which are hard to reach after you apply the cotton swab well. When using the cotton swab, you should ensure you remove all the deposits which may have been trapped in the cotton swab. You should ensure the areas where hard deposits are removed by the cotton swab are left dry.
5. Add water and rinse
After scooping hard depots which may have been trapped in hard-to-reach areas, the next step for you to take is to fill the diffuser with clean water and rinse it. You should plug in the diffuser and let it run for about 3 minutes so that the water will reach different areas. When rinsing you should use clean water without any detergents so that you will avoid leaving some of the detergents which will affect the aroma of the essential oils which you use in your home. After the diffuser has run for 3 minutes, you will have to empty it and dry it.
6. Wipe with a dry cloth or cotton swab
In order for the outer surfaces of the diffuser to be sparklingly clean, you will have to just wipe them with a clean piece of cloth or cotton swab. You should ensure the cotton swab is clean so that you will avoid cases where you will leave a deposit of dirt on the surface. If you have a diffuser that has surfaces that are highly polished. You will find it very easy to wipe it clean. You will enjoy great benefits after you decide to keep the best essential oil diffuser that you will buy clean at all times. A well-maintained diffuser will always diffuse essential oils which will assure you great health benefits. You will improve your immunity as well as purify the air in your home after you decide to buy the diffuser.